With Digital Marketing, there are several ways to market to your customers and one of the great tools is something we refer to as remarketing. Remarketing is a very powerful tool and comes with a conversion rate of up to 5%, so if your business is not remarketing to your website visitors then you’re missing out.
Facebook remarketing uses a piece of code installed on your website, otherwise known as the Meta Pixel. It can help you reach people who have previously visited your website by showing relevant ads across Facebook and Instagram.
This can take many different forms. For example, imagine you have an online store selling 4WD bull bars for major vehicle brands. A visitor views a bull bar for a Toyota LandCruiser 200 Series but leaves without making a purchase. You can then use Meta Custom Audiences to show that visitor relevant ads for the product on Facebook or Instagram, increasing the likelihood that they return to your website and complete their purchase.
Head over to Meta Business Manager and open Events Manager to begin setting up your Meta Pixel.
Step 1: Open Meta Business Manager and go to Events Manager

Step 2: Follow Meta’s instructions to create and connect a Meta Pixel to your website
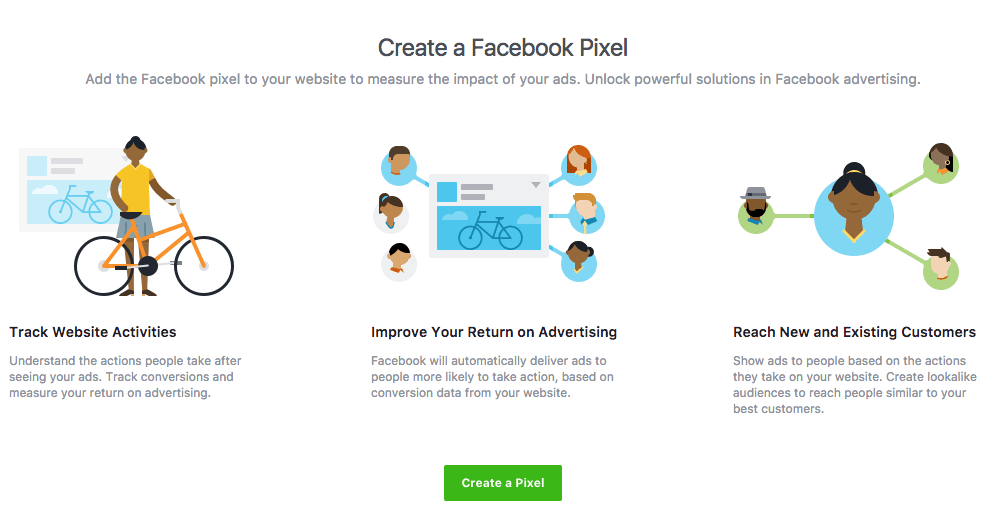
Step 3: Choose how you want to connect your website. You can add the code manually or use the official Meta Pixel for WordPress plugin

Step 4: If installing the code manually, open your WordPress website and access the Theme File Editor under Appearance

Step 5: Locate the <head> tags, which are commonly found in the header.php file of your theme. Paste your Meta Pixel base code immediately before the closing </head> tag
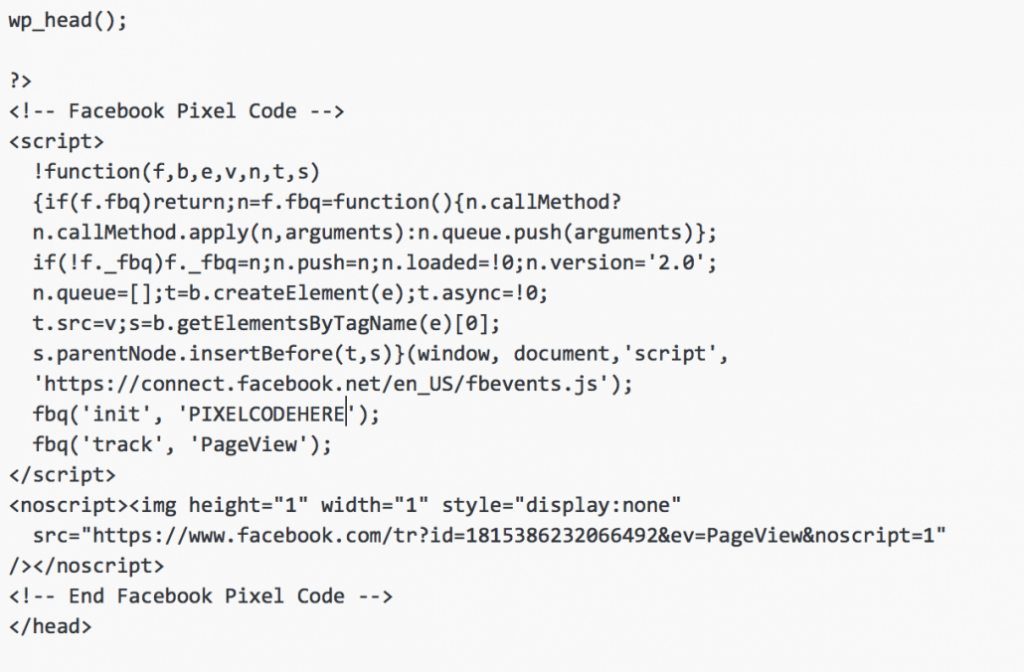
Step 6: Save the file and clear any website cache or minification settings you have enabled.
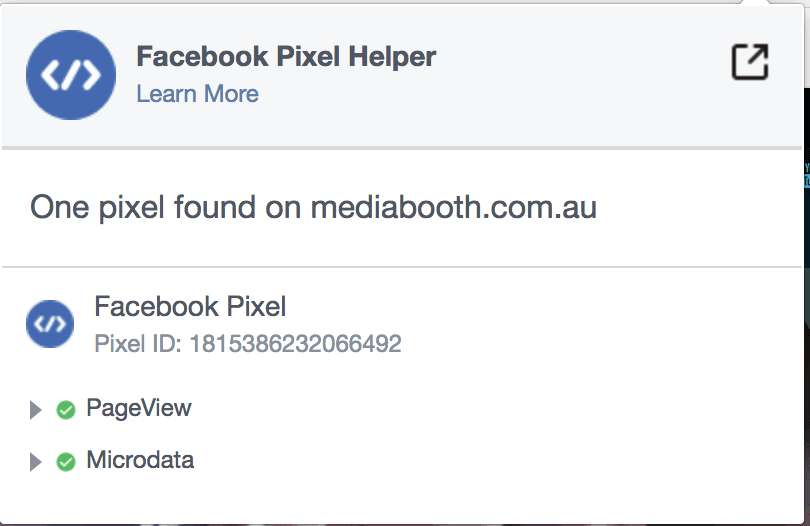
Step 7: Test whether your pixel is working by installing the official Meta Pixel Helper Chrome extension.
Need help setting up your Meta Pixel, building remarketing audiences or managing your campaigns?
Learn more about our Facebook Ads management services or contact Media Booth.